I am getting ready for the San Luis Obispo Art After Dark show (its the first Friday of every month) and I always need more displays for my many buttons & jewelry. I decided to make some shabby chic chicken wire frames. Today I am going to show you how I make them.
 |
Second - paint a base color. I like using contrasting colors so the crackle shows up more. Because I am painting the top layer white, I used a black spray paint. You can use spray paint or house paint. For a quicker drying time use spray paint. You just need a light coat of paint.

Third - Paint a layer of crackle glaze. Because I already had it, I used McCloskey Special Effects Weathered Crackle Glaze that I got at my local hardware store, but you can get the crackle finish with Elmer's Glue instead. It's cheaper & works just as good.

Make sure to paint an even layer of the glaze. The thicker the layer the bigger the cracks.

Fourth - Paint the top coat of paint. Make sure to only do one long stroke because the paint starts to crackle right away. If you go over it a second time, or try to fix some spots, it will cover your crackle effect.

The crackle effect shows up immediately and as the paint dries it crackles more.

Fifth - Measure the inside of the frame for the chicken wire.

Sixth - Cut the chicken wire to the inside dimensions of the frame. Use heavy duty wire cutters to do the job.

Seventh - Staple the edges of the chicken wire to the frame using a staple gun. Angle the staples into the thick part of the frame so they don't come out the other side.

For a more worn "Shabby Chic" effect, gently sand the edges of the frame.


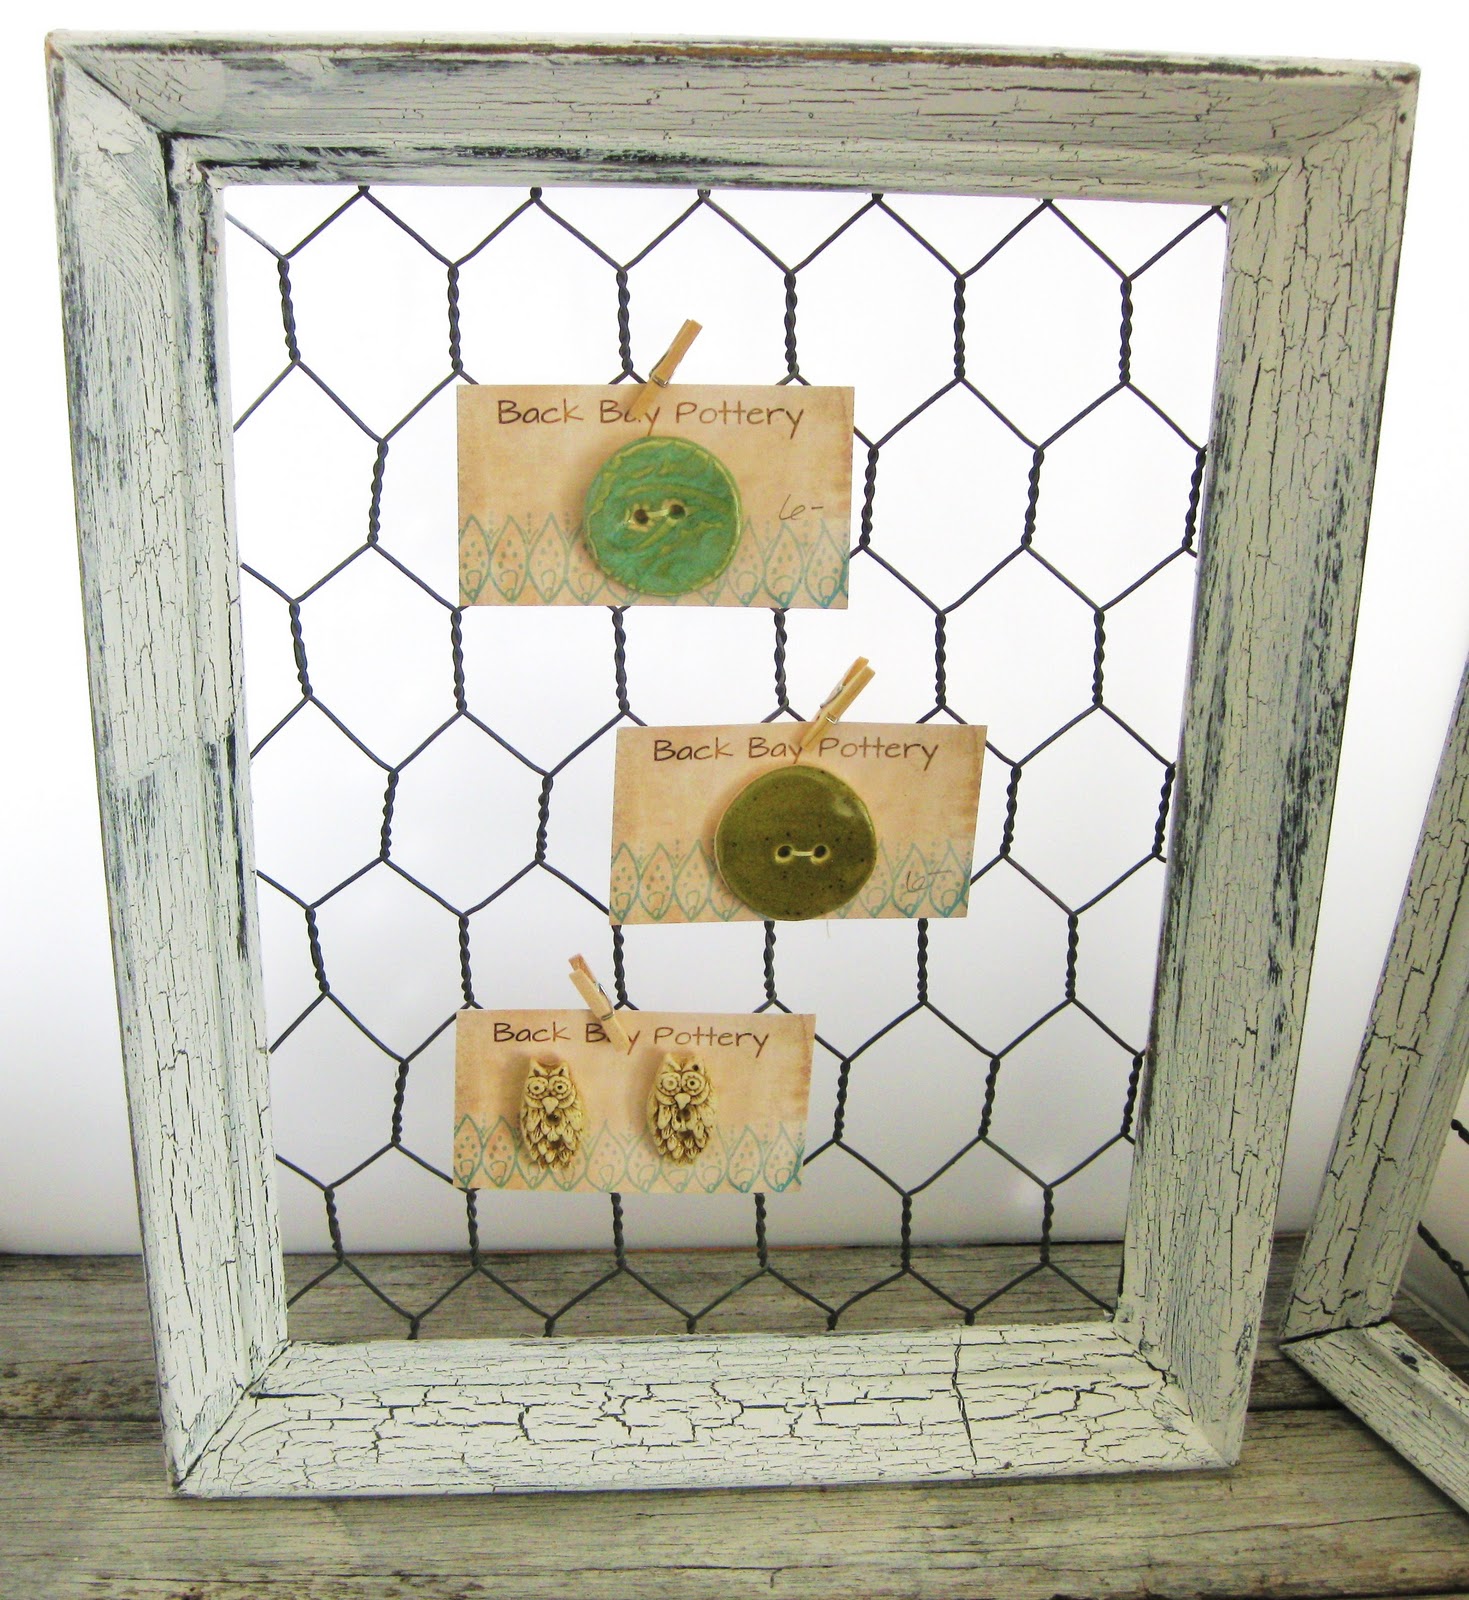
"Ta-Da!" My Shabby Chic chicken wire frames, ready for display.

Love it - Thank you for posting
ReplyDeleteSuch a nice information in this blog...
ReplyDeletenetting for garden