 |
| Covered Butter Dish with Dot Design in Aqua Mist |
First I roll a block of clay through my slab roller...
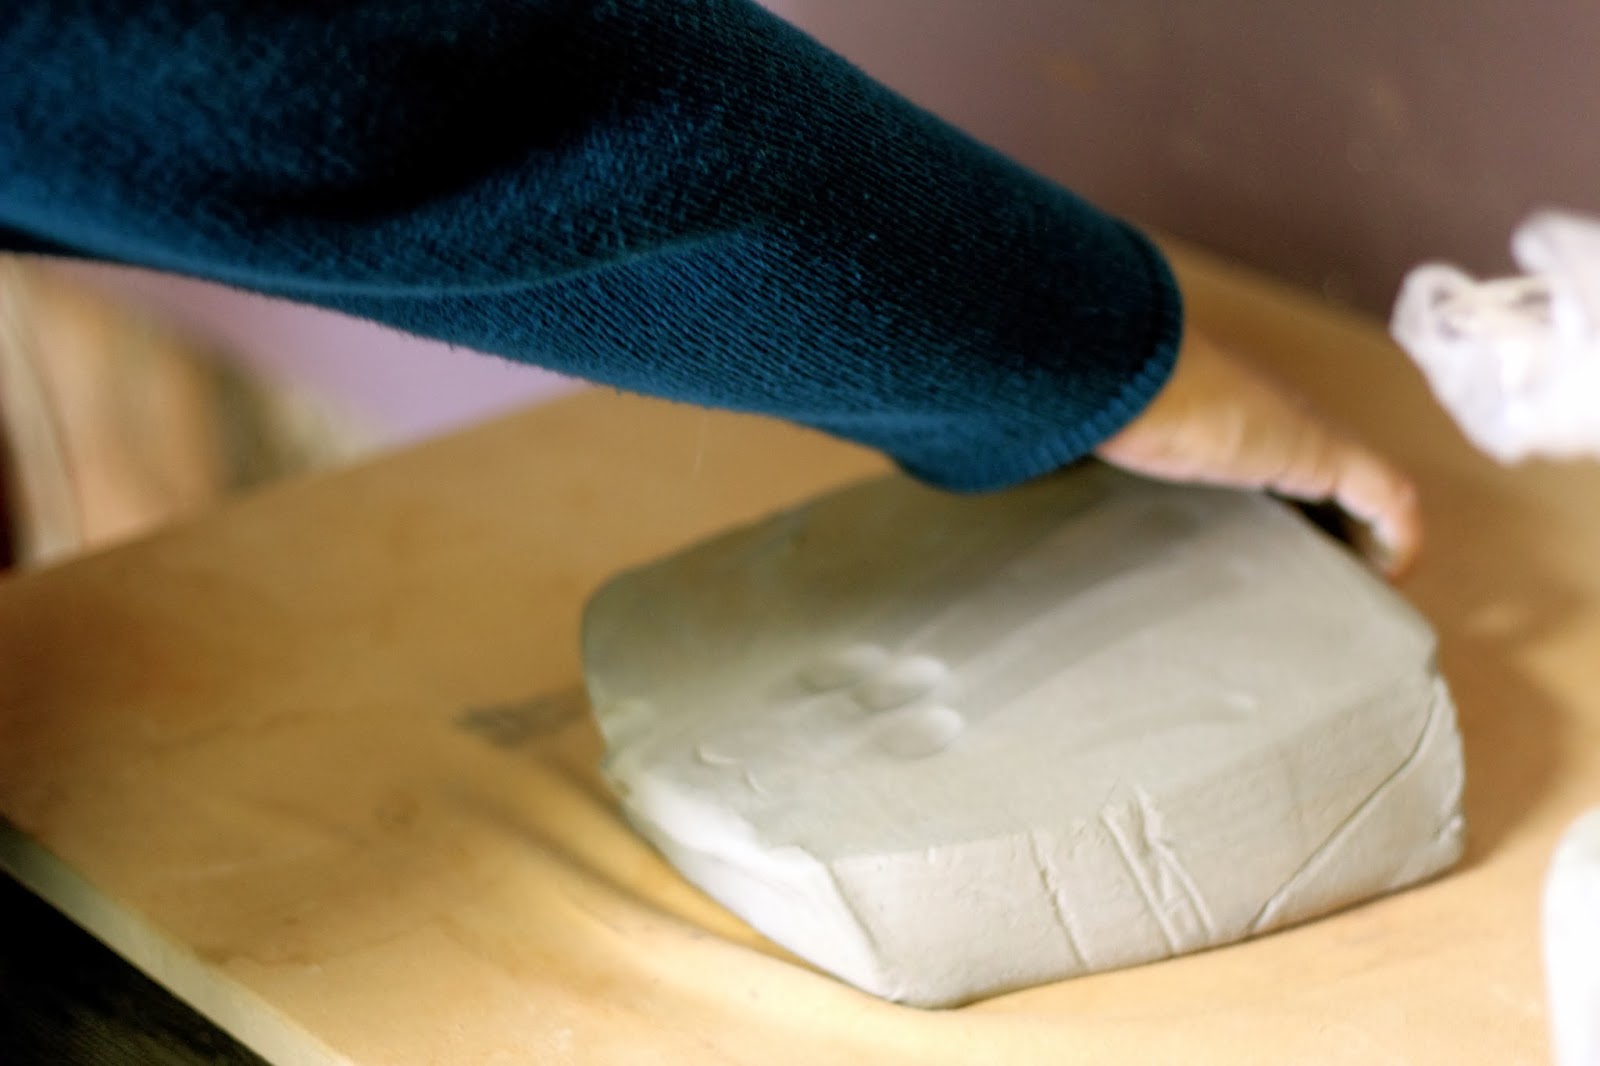 |
| Block of Stoneware Clay |
 |
| Adjusting the thickness on my slab roller. |
 |
| Rolling the clay through the slab roller |
 |
| Cutting out the butter dish |


 |
| Each one is stamped on the bottom with a handmade stamp |
 |
| Soon to be decorated! |
Now it's time to decorate the dish...
 |
| decorating a butter dish |
I use liquid clay called slip to draw on the clay. This technique is called sliptrailing.
 |
| sliptrailing |


After the dishes dry for 7 to 10 days they go into the kiln for the first firing called "Bisque". The kiln reaches over 1900 degrees fahrenheit. When they cool they are ready for glaze.
 |
| Glazing |
 |
| Covered Butter Dish in Vintage Plum |
 |
| Covered Butter Dish with Handle |


Thanks for such a lovely post! It's not very often you get to see such a clear and beautifully imaged step by step blog post for a Potters piece - I love seeing how other people work!
ReplyDeleteHi Christine, I've tried butter dishes In the pasy, but with shrinkage, are always a bit too small. :(
ReplyDeleteIf you wouldn't mind, what are the basic dimensions of your butter dishes and lids?
Your dimensions would be clay specific. What clay and how you fire it. Cone 10 clay/firing or low fire. Shrinkage is greater with high fire. I know the manufacturer says 15% but it seems like 25%!
DeleteI love the photo where you puzzeled several complete sets of pieces onto a slab. I was mostly amazed how clean your studio was. Nice job and very informative. Thank you from Atlanta.
ReplyDeleteI love your butter dishes!!! I'm in the process of teaching myself pottery and your pictures are a great help! I would like to know what exactly you put in your slip for the sliptrailing technique. Is it just the same clay with added water? Thank you all the way from Argentina!!
ReplyDeleteRobbie Booth
This comment has been removed by the author.
ReplyDeleteDo you have a printable template that can be used ?
ReplyDeleteThese are beautiful. I'm curious as to how you glaze these. Is the bottom rim of the lid bare of glaze and set directly on the kiln shelf during the final firing?
ReplyDeleteLove this. What weight butter would this hold please? Is there a printout of the template available.
ReplyDeleteThank you. Great, clear instructions.
Amazing art form,art work looks lovely.Similar pottery art ,decorative and gift articles are available at
ReplyDeleteLovely article,you butter dish looks absolutely stunning.Love to see more from your side.You can have look at http://www.potterymarket.co.uk/,for varieties of pottery,decorative and gifting items.
ReplyDeleteYour designs are lovely, and your work is so clean. I am just a beginner, and this was such a helpful post. Thank you.
ReplyDeleteDisappointing that there's no templates. This is a lovely article but not an instruction article due to that.
ReplyDelete